stitchery the workroomWHOLE CLOTH QUILT : NYC SUBWAY MAPKarynJanuary 31, 2011 67 shares 0 0 67 View Post
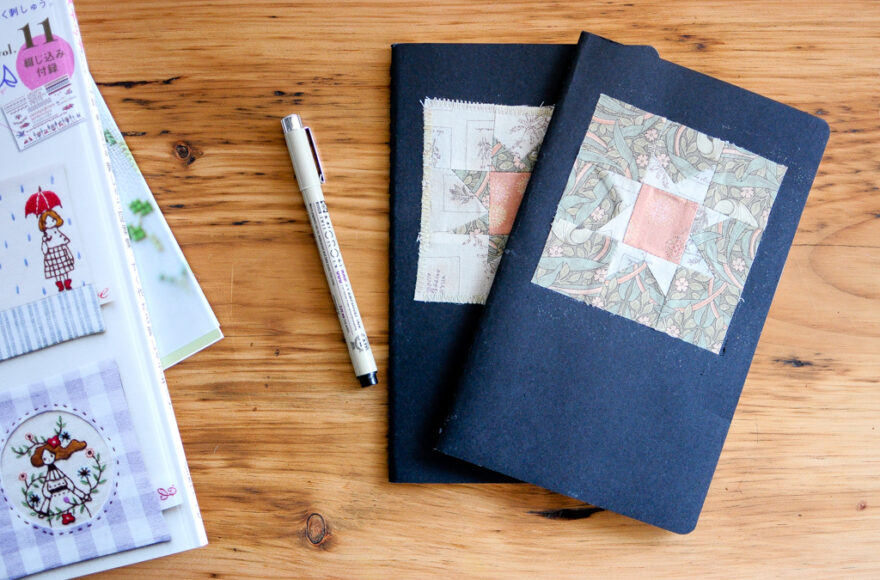
patchwork the workroomQUILT SAMPLER 2 : SAWTOOTH STARSKarynJanuary 25, 2011 19 shares 0 0 19 View Post