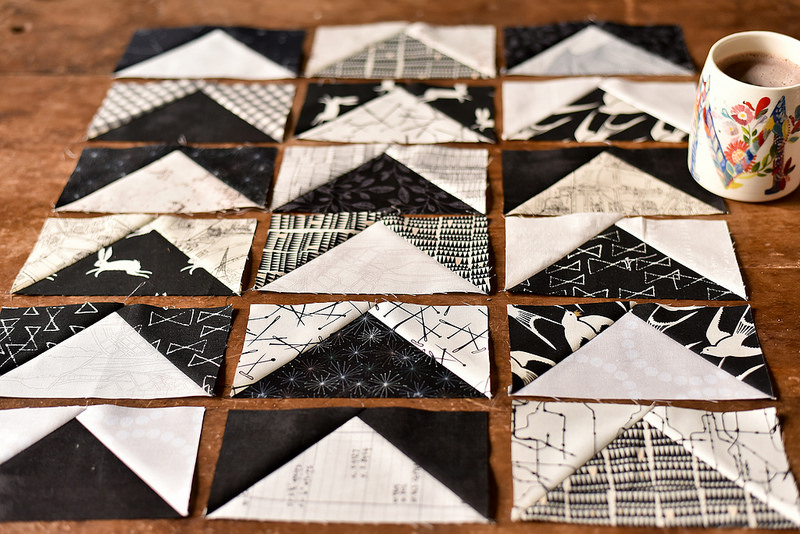
handmade getaway patchwork the workroomDouble Time Quilt Along!karynOctober 18, 2024 View Post 3 minute read
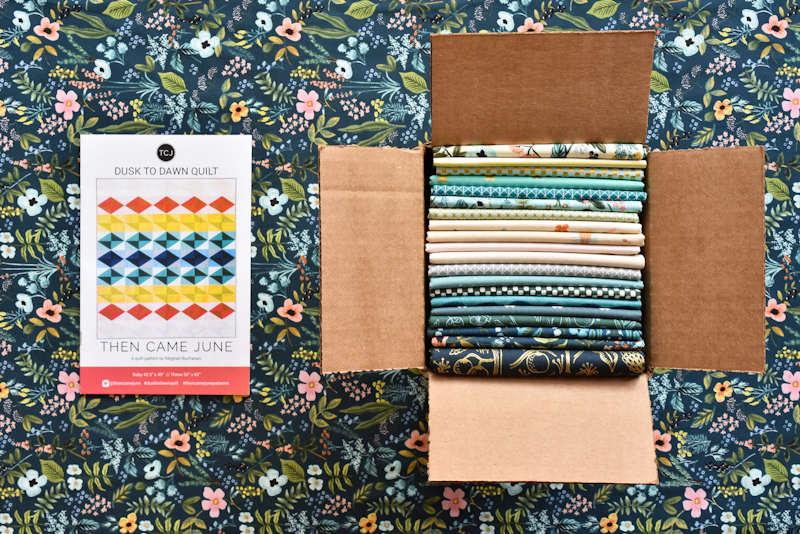
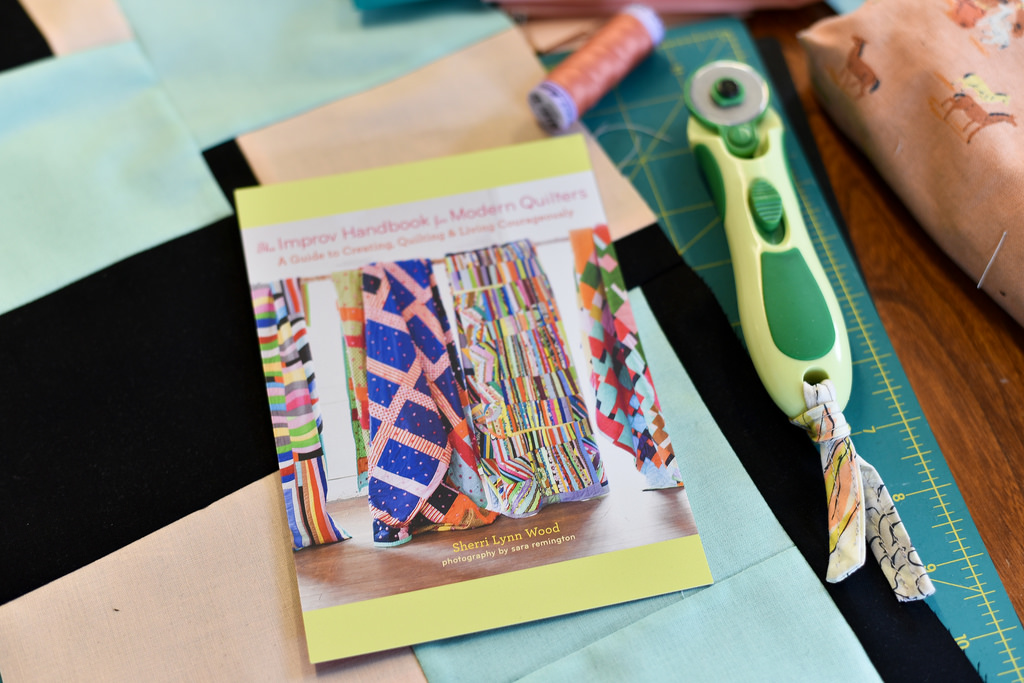
patchwork the workroomAMALFI SEAS QUILT : GETTING ORGANIZEDkarynJune 21, 2018 View Post 2 minute read
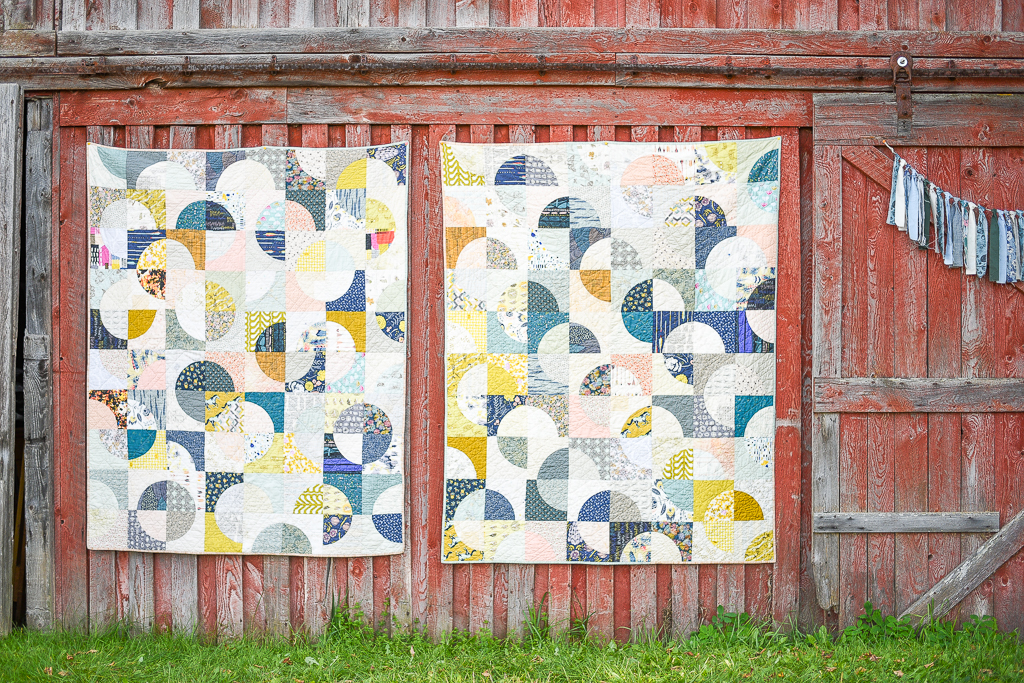
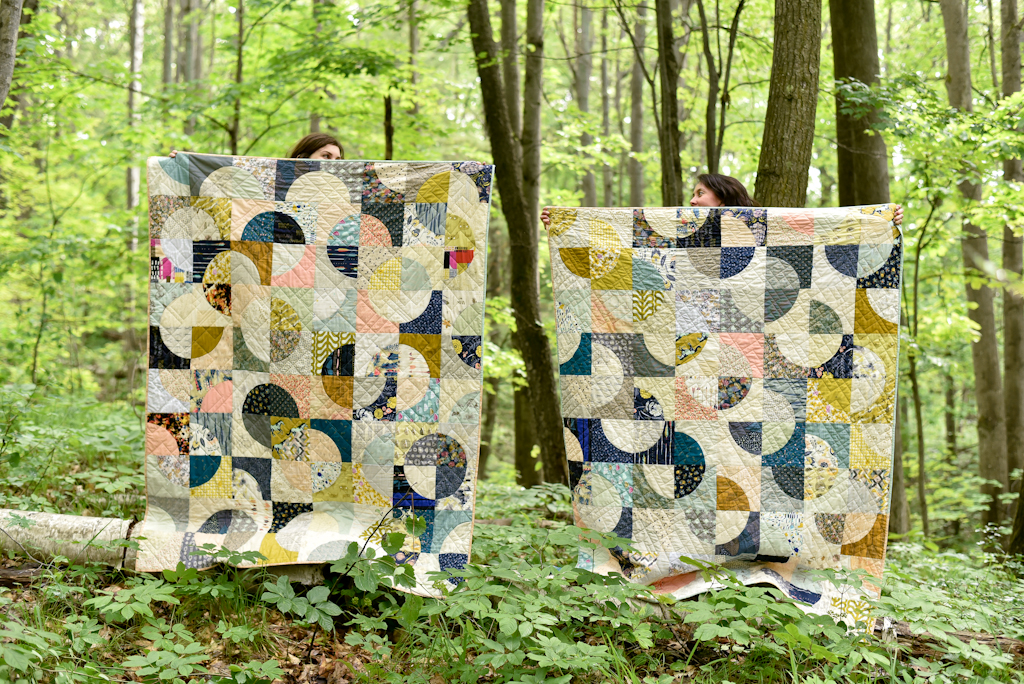
handmade getaway patchworkHANDMADE GETAWAY : DOUBLE TIME QUILTkarynMarch 4, 2018 View Post 3 minute read
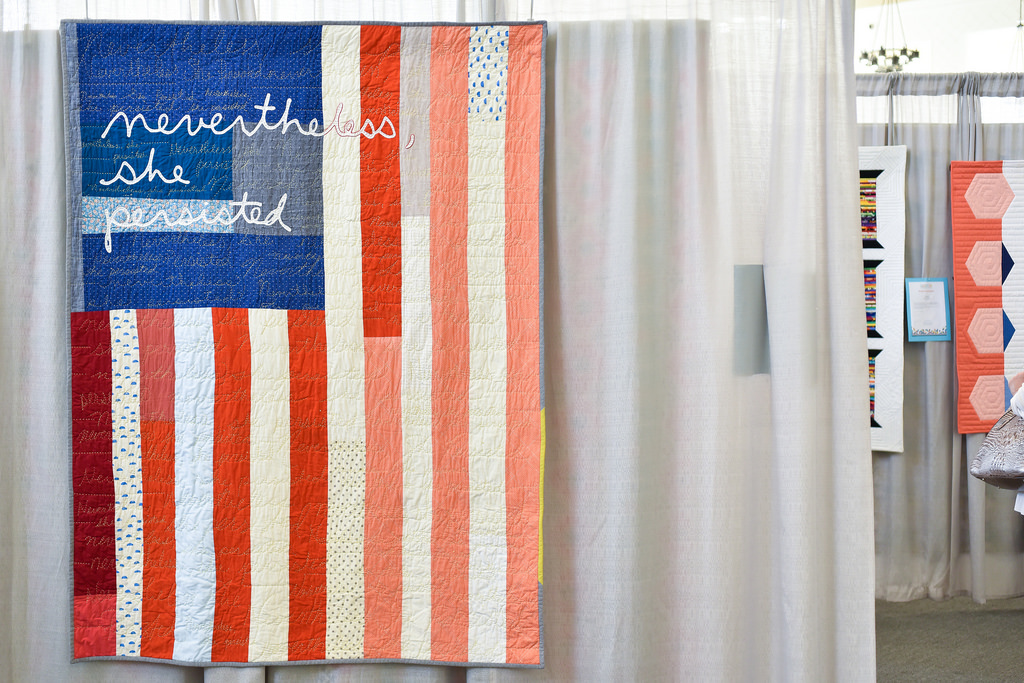
handmade getaway photographyHANDMADE GETAWAY ON KICKSTARTER!karynFebruary 8, 2018 View Post 3 minute read