the workroom
295 posts
- 365
- accessories
- accoutrement
- art
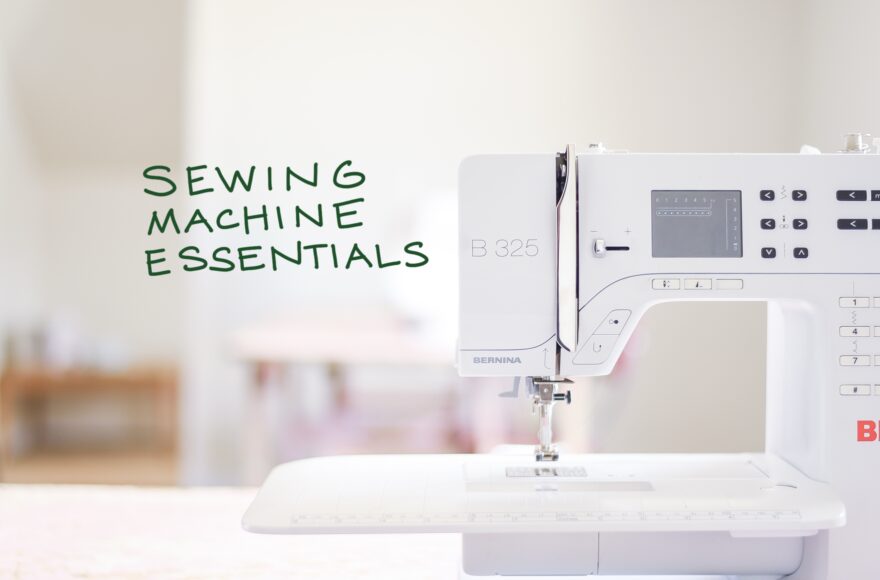
- Bernina
- clothing
- colour
- delicious
- DIY
- etsy
- farmer's wife sampler
- found
- gardening
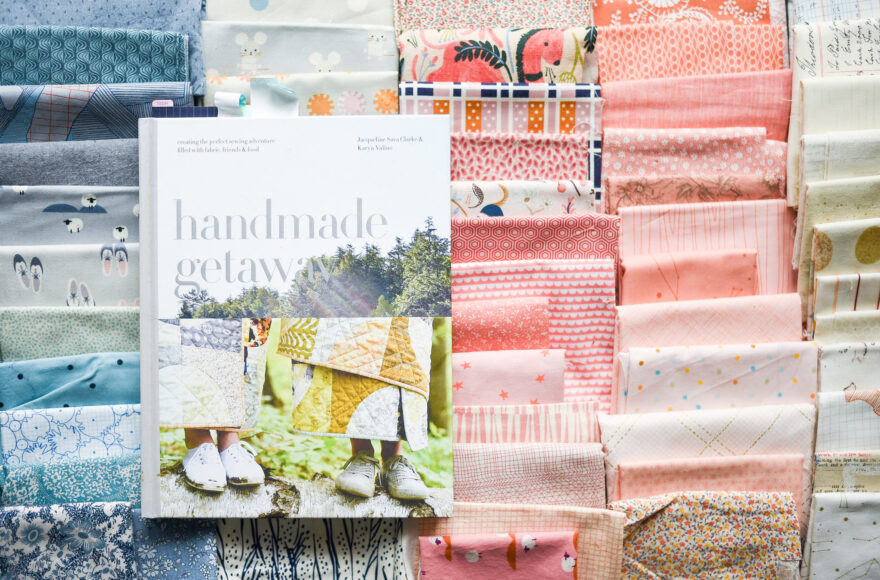
- handmade getaway
- hello
- home
- i heart
- inspiration
- introducing
- japanese dress/craft
- local
- make something loves
- misc.
- natural dyeing
- needlework
- patchwork
- photography
- reading
- scraps
- spotted
- stitchery
- textiles
- the workroom
- tools
- traveling
- vintage
- weaving